Connect ideas with a mind map
Generate a concept map around one topic, inspect individual nodes, and choose what to study next. Open Study Tools → Mind Maps.
Watch the walkthrough
Section titled “Watch the walkthrough”Read the walkthrough transcript
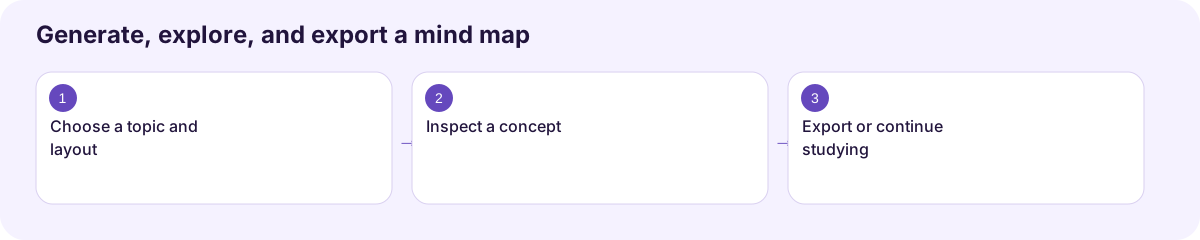
1. Choose a topic and layout
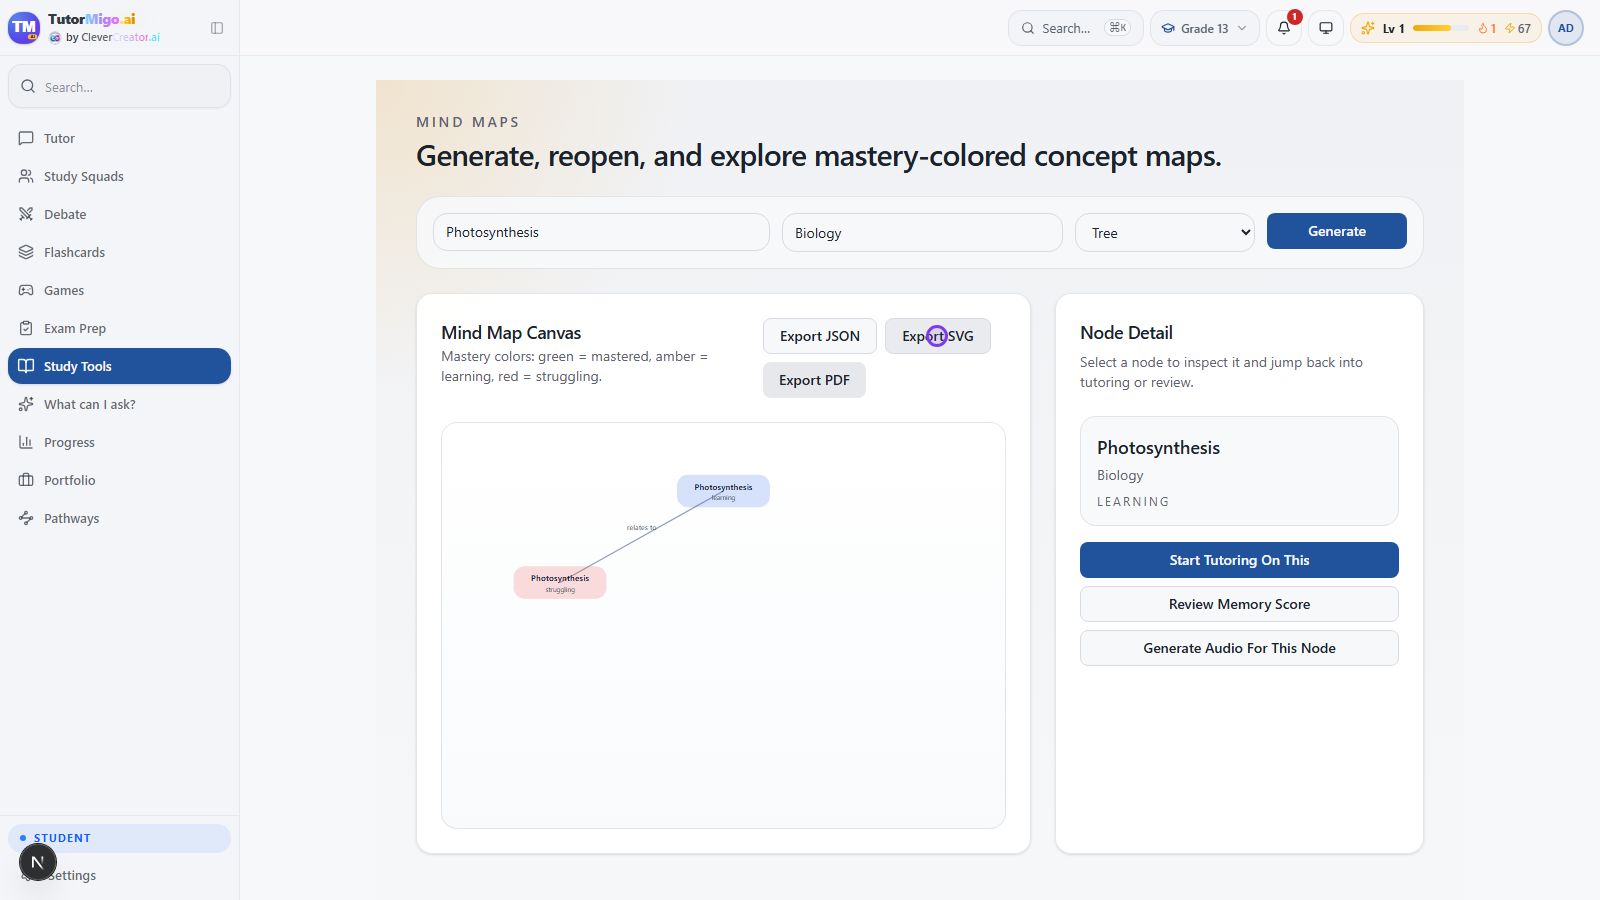
Let's explore how ideas connect. Open Mind Maps, enter your topic and subject, and choose a layout. We'll use Photosynthesis in Biology with the Tree layout, then select Generate.
2. Inspect a concept
The saved map is ready. Select a node to see its detail and mastery label. This local example is a small map; use the actual labels and connections to decide what you need to study next.
3. Export or continue studying
Choose Export SVG to keep the diagram as a file. The node panel also offers a tutoring session or an audio lesson about that concept. A map becomes useful when it helps you choose your next learning step.
Download video · Captions · Transcript
Generate and inspect a map
Section titled “Generate and inspect a map”- Enter a focused Topic, such as Photosynthesis, and add the Subject.
- Choose Tree, Radial, or Force as the layout.
- Choose Generate and wait for the map to appear.
- Select a node to open Node Detail. Review its description and mastery label.
- Use Start Tutoring On This or Generate Audio For This Node to continue studying that concept.
The legend describes green as mastered, amber as learning, and red as struggling. Review the map’s actual labels and relationships before using it to explain a topic. The local recording generated a small two-node map; map completeness and detail can vary.
Save a copy and return later
Section titled “Save a copy and return later”Choose Export SVG for the diagram, Export JSON for its structured data, or Export PDF to open the browser’s print workflow. The walkthrough verifies an SVG download. Reopen a saved item through Recent Mind Maps on the workspace start page.
Next: Audio lessons or flashcard practice.
Workflow at a glance
Section titled “Workflow at a glance”